How To Easily Migrate And Integrate Apps in Flutter
Alterations are a part of the development process and are encouraged by top Flutter app development company. If your app does not support an excellent user interface and fails to meet audiences’ expectations, it’s time to switch your existing app to an even more fully functional and faster mobile app development framework.
We are talking about Flutter app development.
Flutter is a renowned accepted framework across individuals, organizations, and communities of all kinds.
It is cross-platform compatible, Google authorized and comes with powerful developer tools that persuade high-quality apps.
How migrating and integrating is done using the Flutter toolkit? This blog will help you find out!
Converting existing applications isn’t a cup of tea. But with Flutter app development services, developers can seamlessly do the most mundane tasks without interruptions and errors.
Find the top Flutter app development service providers for startups in the USA while you are contemplating the blog ahead!
Let’s quickly get started with the basics of the Flutter framework.
How Flutter Framework Works?
2017 incepted Flutter is an open-sourced mobile UI toolkit that offers an effortless and enhanced way for mobile app developers to build clear-cut cross-platform native applications.
The platform uses Dart as its core programming language and involves reactive styles that don’t use any JavaScript bridge and are the only framework with mobile SDK.
How Does it Work?

- Platform: Shell hosts the Dart VM that Flutter utilizes. Shell eliminates the need for maintaining several applications and provides access to native platform APIs.
- Engine: The engine comes next. Skia, Platform Channels, Dart Runtime, and much more are all available with Flutter.
- Framework: For an app developer, the Flutter framework is crucial. It includes all of the tools you’ll use to create your app.
- Themes and widgets: Dart-written, ready-made themes, and widgets. This avoids the time-consuming JavaScript bridge step, and Dart builds the app in advance using the platform’s native coding language.
- Rendering process: The UI will be smooth since Flutter refreshes the interface at 60 frames per second.
What Are Some Scenarios When Switching To Flutter Is Fruitful?
Businesses have all the valid reasons to adapt to flutter for any given scenario. Starting from converting your small ideas to established business operations or creating a more complex application for your business. However, the right time to convert your existing app to Flutter to get the most fruitful opportunities is something that would have kept you at bay, right?
So, below are the ideal conditions in which you ought to think of boarding the Flutter, especially for startups.
Deciding when to convert existing apps to Flutter depends on several factors. Here are some scenarios that indicate it might be the right time:
1. Major Updates or Redesign:
If you are planning a significant update or a complete redesign of your existing app, it could be an opportune time to consider migrating to Flutter. This allows you to take advantage of Flutter’s modern UI capabilities and deliver an enhanced user experience.
2. Platform Parity:
If your app is currently developed separately for iOS and Android using native technologies, and you want to achieve platform parity in terms of features and user experience, migrating to Flutter can be a cost-effective solution. Flutter’s single codebase approach can streamline development, maintenance, and updates.
3. Performance Issues:
If your app is facing performance challenges, such as slow rendering, laggy animations, or inefficient memory management, Flutter’s optimized rendering engine and efficient Dart programming language can help improve performance and responsiveness.
4. Cost and Resource Optimization:
If you have separate development teams for iOS and Android, merging them into a unified Flutter team can help reduce costs and streamline development efforts. Flutter’s code-sharing capabilities can also save time and effort in maintaining two separate codebases.
5. Expanding to New Platforms:
If you plan to expand your app’s availability to additional platforms, such as web or desktop, Flutter’s multi-platform capabilities can simplify the process. With Flutter, you can leverage your existing codebase and extend your app’s reach to new platforms.
6. Developer Skillset and Efficiency:
If your development team has expertise in Flutter or is eager to learn it, transitioning to Flutter can boost their efficiency and productivity. Flutter’s hot reload feature allows for faster iterations and quicker bug fixing, facilitating a more streamlined development process.
Ultimately, the decision to convert existing apps to Flutter should be based on a thorough evaluation of the specific app’s needs, the potential benefits of Flutter, and the available resources. It’s recommended to conduct a feasibility analysis and consider the long-term goals of your app before making the switch.
Reasons Why Flutter is Best For Your Migration & Integration of Existing Apps
Multiple reasons justify the purpose of using Flutter for the existing app’s integration and migration. Here are a few reasons why Flutter is a great choice for your business!
1. Single Codebase:
Flutter allows you to build apps for multiple platforms, including iOS, Android, web, and desktop, using a single codebase. This significantly reduces development time, effort, and costs compared to maintaining separate codebases for each platform.
2. Native Performance:
Flutter uses a compiled programming language called Dart, which is optimized for performance. Flutter apps are compiled directly to native machine code, offering near-native performance on both iOS and Android platforms.
3. Consistent UI/UX:
With Flutter, you can achieve a consistent user interface and user experience across platforms. Flutter’s rich set of customizable widgets allows you to create visually appealing and responsive UIs that adapt to different screen sizes and resolutions.
4. Access to Native Features:
Flutter provides a comprehensive set of native-like features and APIs, enabling seamless integration with device capabilities such as cameras, sensors, location services, and more. This ensures that your migrated app can leverage the full potential of each platform.
5. Community and Ecosystem:
Flutter has a vibrant and rapidly growing community of developers, which means you’ll have access to a wealth of resources, libraries, and plugins. This ecosystem makes it easier to find solutions, troubleshoot issues, and accelerate development.
6. Easy Maintenance and Updates:
Since Flutter apps have a single codebase, maintenance and updates become simpler. Bug fixes, feature enhancements, and security updates can be applied uniformly across all platforms, reducing the time and effort required for maintenance.
7. Future-Proofing:
Flutter is backed by Google, and its popularity is constantly rising. By migrating to Flutter, you future-proof your app by adopting a technology that is actively supported, regularly updated, and likely to see continued growth and adoption in the developer community.
When considering the migration and integration of existing apps, these advantages of Flutter make it an appealing choice, offering a streamlined development process, enhanced performance, and a consistent user experience across platforms.
Critical Steps To Easily Migrate & Integrate Apps in Flutter
Migrating and integrating apps in Flutter can be a complex process, but by following these detailed steps, you can simplify the process. Below, I’ll outline the steps along with the necessary code commands:
Step 1: Set up the Flutter environment
- Install Flutter by following the official installation guide for your operating system (https://flutter.dev/docs/get-started/install).
- Set up your preferred IDE (Integrated Development Environment) for Flutter development, such as Android Studio, Visual Studio Code, or IntelliJ IDEA.
Step 2: Create a new Flutter project
- Open your preferred IDE and create a new Flutter project using the following command:
flutter create my_project
- Change your working directory to the newly created project:
cd my_project
Step 3: Migrate existing Flutter apps
- If you have an existing Flutter project that you want to migrate, navigate to its directory.
- Run the following command to start the migration process:
flutter create .
- This command will generate necessary configuration files and update dependencies to the latest versions, ensuring compatibility with the current Flutter SDK.
Step 4: Integrate Flutter into existing apps
- If you want to integrate Flutter into an existing app (e.g., an Android or iOS app), create a new Flutter module using the following command:
flutter create –template module my_flutter_module
- This command will create a Flutter module within your existing app structure.
Step 5: Set up communication between the Flutter module and the host app
- In the host app’s codebase, locate the necessary entry point for integrating the Flutter module (e.g., an Activity in Android or a ViewController in iOS).
- Set up the FlutterEngine and FlutterView instances to establish communication between the host app and the Flutter module. The code for this step will depend on the platform (Android or iOS) and the specific integration requirements.
– For Android integration, refer to the official Flutter documentation for embedding Flutter within an Android app (https://flutter.dev/docs/development/add-to-app/android/project-setup).
– For iOS integration, refer to the official Flutter documentation for embedding Flutter within an iOS app (https://flutter.dev/docs/development/add-to-app/ios/project-setup).
Step 6: Implement platform-specific integrations
- If your app requires platform-specific integrations, such as accessing device features or using native APIs, you’ll need to implement platform channels. This allows communication between Flutter and the host app’s native code.
– For Android, refer to the official Flutter documentation on platform channels in Android (https://flutter.dev/docs/development/platform-integration/platform-channels#android).
– For iOS, refer to the official Flutter documentation on platform channels in iOS (https://flutter.dev/docs/development/platform-integration/platform-channels#ios).
Step 7: Test and run the integrated Flutter app
- Make sure your Flutter module is connected to the host app by running the necessary build commands.
- Build and run the integrated app on your target platform using the appropriate IDE or command line tools.
– For Android, use the following command:
flutter run
– For iOS, use the following command:
flutter run -d <iOS device identifier>
Step 8: Resolve package dependencies
- Open the
pubspec.yamlfile in your Flutter project. - Ensure that all necessary flutter packages’ dependencies are listed under the
dependenciessection. - Run the following command to fetch and update the packages:
flutter pub get
Step 9: Handle platform-specific code
- If your Flutter app relies on platform-specific code, such as accessing device features or using platform-specific APIs, you’ll need to handle this code during the migration or integration process.
- Use conditional statements or platform-specific APIs to ensure that the code is executed appropriately on each platform.
– For example, to handle platform-specific code in Flutter, you can use the dart:io package to check the current platform and execute platform-specific code accordingly.
Step 10: Test the app thoroughly
- Perform extensive testing on the migrated or integrated app to ensure that all features and functionalities work as expected.
- Test the app on various devices, emulators, or simulators to ensure compatibility and responsiveness.
- Pay special attention to any platform-specific integrations or functionalities to ensure they work correctly on both Android and iOS platforms.
Step 11: Debug and fix issues
- If you encounter any issues or bugs during testing, use the debugging tools provided by your IDE or the Flutter SDK to identify and resolve the problems.
- Follow standard debugging practices, such as logging, breakpoints, and exception handling, to track down and fix issues effectively.
Step 12: Optimize the app’s performance
- Analyze the app’s performance and identify any potential bottlenecks or areas for optimization.
- Optimize the app’s code, including reducing unnecessary computations, improving memory usage, and leveraging Flutter’s performance optimization techniques (e.g., widget caching, using
constconstructors when possible). - Consider performance profiling tools provided by the Flutter SDK, such as the Flutter DevTools, to further optimize the app’s performance.
Remember, the migration and integration process may vary depending on your specific app requirements and the complexity of the project. It’s essential to consult official documentation, online resources, and relevant community support for additional guidance during the process.
How Much Cost is Involved in Migration & Integration of Existing Apps in Flutter?
From zero to hero, Flutter app development has come a long way and has completely changed the cost involved in migrating and integrating existing apps in Flutter can vary depending on several factors. Here are some key considerations that can impact the cost:
1. App Complexity:
The complexity of your existing app plays a significant role in determining the cost. Apps with extensive features, intricate user interfaces, and complex backend integrations will generally require more effort and time to migrate and integrate.
2. Codebase Size:
The size of your existing codebase affects the migration process. Larger codebases may require more time and effort to analyze, refactor, and integrate into Flutter app development.
3. Third-Party Dependencies:
If your existing app relies heavily on third-party libraries or APIs, the cost of migration and integration can be influenced by the compatibility and availability of those dependencies in Flutter app development. If there are no Flutter alternatives for specific libraries, it might require additional development effort to find suitable replacements or create custom implementations.
4. UI/UX Design:
If you wish to redesign or enhance the user interface (UI) and user experience (UX) during the migration and integration process, it can incur additional costs. This may involve collaborating with designers, prototyping, and implementing the new UI/UX elements.
5. Platform-Specific Integrations:
If your app requires platform-specific integrations, such as accessing native device features or utilizing platform-specific APIs, additional effort and cost may be involved. This is because Flutter uses platform channels to communicate with native code, which requires development expertise on both Flutter and the native platform (e.g., Android or iOS).
6. Testing and Quality Assurance:
Thorough testing is crucial to ensure the migrated and integrated app functions as intended. The cost will include testing on various devices, simulators, or emulators, as well as identifying and fixing any issues or bugs that may arise during the testing phase.
7. Development Team and Expertise:
The cost will also depend on the rates charged by the development team or agency undertaking the migration and integration process. Rates can vary based on the location, experience, and expertise of the development team.
It’s important to note that estimating the exact cost of migration and integration without detailed information about your specific app is challenging. It’s recommended to consult with development agencies or professionals who can assess your app’s requirements and provide a more accurate cost estimate based on your unique situation.
Wrapping Up
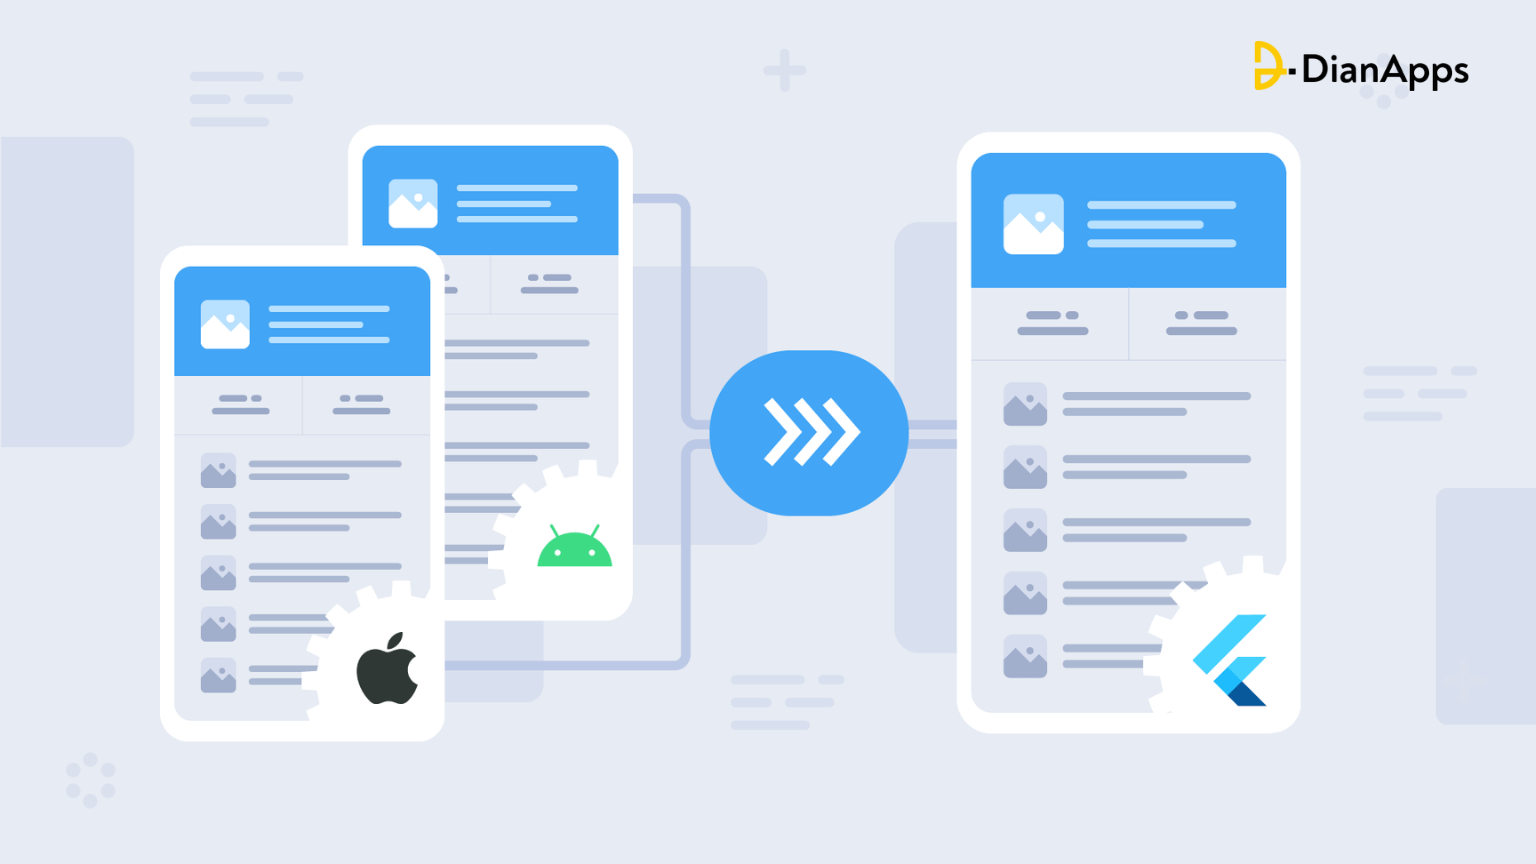
As you can see above, the application created with Flutter appears to be more accurate and crisp than the one created with the Android programming language. For us to transition so quickly to Flutter was fairly swift. We were able to move our client’s app to Flutter without much difficulty thanks to the Hot Reload and Ahead of Time compilation features.
Get in touch with DianApps, a top-ranked Flutter app development company in the USA, Australia, the UK, and India. Bring your business idea and leave the rest to us. We will make your app or migrate your app to the most secure and sophisticated environment.
We believe that Flutter development is the technology of the future and that now is the ideal moment to begin creating apps with it.