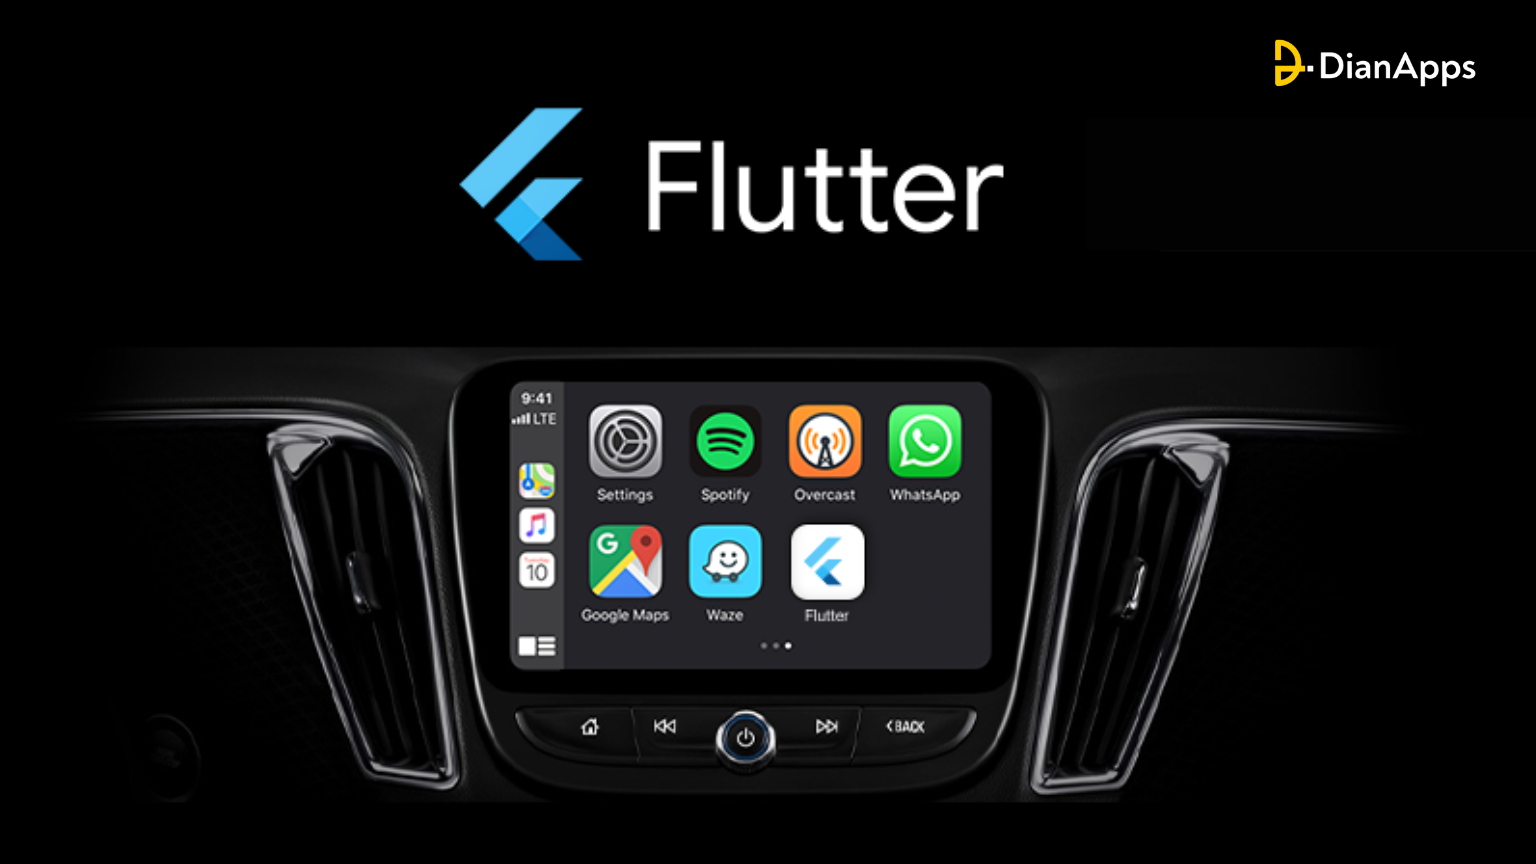
How to Build a Carplay App with Flutter?
Flutter framework has gone beyond creating applications for users staying put at one place. With Flutter’s Carplay app functionality, people can now access a wide range of apps while enjoying the drive during the ongoing business call.
How to build a Carplay app with Flutter? This expert-curated walkthrough guide will help with the best!
How Has Flutter Changed So Far?
With a fantastic developer base and constant updates in its newest versions, Flutter app development has come a long way. In fact, with over 3.6 mobile users worldwide, more than half use Flutter while the remaining falls for React Native (Another popular app development framework).
Flutter SDK incorporates command-line tools, APIs for testing and integration, engine rendering, and ready-to-use widgets that are further distributed into 14 categories.
Google was the first company to employ Flutter in its very own applications such as Google Ads, Google Pay, etc. After that, many top brands like BMW & Toyota, Rive, eBay, and more also adopted the framework which made it more popular.
If you want to know more about the use cases of Flutter framework in detail, continue reading here.
How successful are Flutter apps? As of June 2023, Flutter’s success rate became tremendously high. It is Google’s second most successful open-source project and has over 154k stars on GitHub.
So all, the Flutter app development services are changing and have overcome many hurdles so far. Let’s look below at what it has to contribute to creating an iOS Carplay app.
Prerequisites Needed From Apple Before Building Carplay App
It takes more effort than simply importing Flutter packages, configuring some parameters, and distributing the finished product to your consumers to create a Flutter app with a CarPlay component. Any app that takes advantage of CarPlay has to have Apple’s explicit approval.
This approval procedure might take weeks or even months to complete. There are other claims that Apple just ignores requests for this capability from developers. Nothing you say or do can hasten this process; it is solely Apple’s timeframe.
Even yet, it’s not as straightforward as just clicking a box to say that your app supports CarPlay. This takes us to our second issue, which is that your software must fit into a set of pre-established categories put out by Apple.
Carplay is Not For Every App
Your app must fall into one of Apple’s predetermined categories in order to use CarPlay. Basically, these categories are:
- Audio app
- A messaging application (such as Teams, Slack, or Discord)
- “Driving Task” app, which is new in iOS 16, lets users track miles while driving.
- App for EV charging
- Fueling app (new on iOS 16) allows paying for petrol from CarPlay
- Navigational software (such as Apple Maps or Google Maps)
- Parking payment application
- App for quickly ordering meals (similar to DoorDash or UberEats)
- Music app (YouTube Music or Spotify)
And that is all you can customize in your Carplay app categories.
You could think it’s oppressive of Apple to impose such limitations on what you can and cannot create for CarPlay. But think about CarPlay’s core premise: users use it in their cars to perform routine chores that shouldn’t keep them from driving.
Who Should Consider Carplay App Development?
- If all the above-given criteria match your expectations.
- Your app will make a good pair in the Carplay interface.
- If you have an idea that will provide convenience to the car drivers.
Time to build your Carplay app with top Flutter app development services.
Setting Up The Environment of Your Carplay App in Flutter
Carplay applications are best suited for drivers who aim to have a seamless drive while multi-tasking other tasks such as calling, locating a place, entertaining themselves with good music, and much more.
But before you begin your app development services in Flutter and Carplay app, read the following guidelines directed by Apple: The Carplay app programming guide. This guide will cut short describe the needs, limitations, and capabilities of Carplay apps in detail.
To set up the environment for your CarPlay app in Flutter, you’ll need to follow several steps to ensure that your app is compatible with CarPlay and that you can test it on a CarPlay-enabled device or simulator. CarPlay is a system developed by Apple that allows certain iOS apps to be displayed and controlled on a car’s infotainment system.
Prerequisites:
- Make sure you have Flutter and Dart installed on your development machine.
- Install Xcode if you’re developing for iOS, as it’s required for CarPlay development.
Step To Build A Carplay App in Flutter Framework
Step 1: Create a Flutter Project
Let’s now go over the flutter_carplay setup instructions that are accessible on pub.dev.
Keep in mind that by implementing this, your Flutter project will change. It would be best to commit your modifications to source control at this stage if you were adding CarPlay to an existing app. This way, if your modifications lead to issues, you can quickly roll them back.
In our dependencies, we’ll first add a reference to our pubspec.yaml:
|
1 2 3 4 5 6 7 8 9 |
dependencies: flutter: sdk: flutter ...other dependencies... flutter_carplay: ^1.0.3 |
The flutter pub get command should then be executed within our project. This will produce a Podfile that aids in flutter_carplay’s native components being included in our project.
As soon as the ios/Podfile file is opened, the first line should be left uncommented, and the global platform should be set to iOS 14:
# Uncomment this line to define a global platform for your project
platform :ios, ‘14.0’
Go to the ios folder by changing directories, then execute pod install –repo-update.
Step 2: Modifying our XCode project

We must alter our XCode app because CarPlay is an iOS feature that is inherent to the platform. Then select Flutter > Open iOS module in Xcode by doing a right-click on the ios folder:

Go to Runner > Runner > AppDelegate in our project and change the body of the application function to a straightforward return true. It should appear the same for you because we commented out the old code and inserted the new code just underneath it:
Create a SceneDelegate.swift file in our Runner folder (not the topmost one, but the one that is located one level down), and set its contents to the following:
|
1 2 3 4 5 6 7 8 9 10 11 12 13 14 15 16 17 18 19 20 21 22 23 24 25 26 27 |
@available(iOS 13.0, *) class SceneDelegate: UIResponder, UIWindowSceneDelegate { var window: UIWindow? func scene(_ scene: UIScene, willConnectTo session: UISceneSession, options connectionOptions: UIScene.ConnectionOptions) { guard let windowScene = scene as? UIWindowScene else { return } window = UIWindow(windowScene: windowScene) let flutterEngine = FlutterEngine(name: "SceneDelegateEngine") flutterEngine.run() GeneratedPluginRegistrant.register(with: flutterEngine) let controller = FlutterViewController.init(engine: flutterEngine, nibName: nil, bundle: nil) window?.rootViewController = controller window?.makeKeyAndVisible() } } |
After you complete this step, the SceneDelegate should look like this:
Right-click the Info.plist file and select Open As > Source Code from the menu that appears. With the Info.plist now open in plain text, you can quickly put the following configuration into the file.
It’s quite simple to mistakenly break this file if we input the incorrect thing at this stage, so we should be extra cautious:
Add the next line of text before the dict’s ending /dict>. The default setting is as follows, and we will return to this later to tweak it:
|
1 2 3 4 5 6 7 8 9 10 11 12 13 14 15 16 17 18 19 20 21 22 23 24 25 26 27 28 29 30 31 32 33 34 35 36 37 38 39 40 41 42 43 44 45 46 47 48 49 50 51 52 53 54 55 |
<key>UIApplicationSceneManifest</key> <dict> <key>UIApplicationSupportsMultipleScenes</key> <true /> <key>UISceneConfigurations</key> <dict> <key>CPTemplateApplicationSceneSessionRoleApplication</key> <array> <dict> <key>UISceneConfigurationName</key> <string>CarPlay Configuration</string> <key>UISceneDelegateClassName</key> <string>flutter_carplay.FlutterCarPlaySceneDelegate</string> </dict> </array> <key>UIWindowSceneSessionRoleApplication</key> <array> <dict> <key>UISceneConfigurationName</key> <string>Default Configuration</string> <key>UISceneDelegateClassName</key> <string>$(PRODUCT_MODULE_NAME).SceneDelegate</string> <key>UISceneStoryboardFile</key> <string>Main</string> </dict> </array> </dict> </dict> |
Step:3 Setting Up The Entitlements
We must allow our app to communicate with the CarPlay simulator on our computer, even while it is still in Flutter app development solutions. Now let’s set up these entitlements.
Click on Runner in XCode, then choose Signing & Certificates, and finally click the plus button next to All:
Keychain Sharing can be chosen from the list that appears. Keychain sharing isn’t really used by your app, but by implementing this, you’ll have a Runner.entitlements file in your project:
In this file, depending on the kind of app you are creating, delete the Keychain Access Groups and add a new entitlement. To choose which entitlement to employ for your project, consult Apple’s list of those that are currently available.
When finished, your Runner.entitlements file ought to like this:
Finally, we are prepared to add some features to our Flutter app.
Step 4: Using the CarPlay feature of the Flutter app
We’ll now include the following user interface in our app’s CarPlay section.

Here are the steps we must take to accomplish this:
- Establish a RootTemplate that will serve as the foundation for our CarPlay experience.
- Fill in the blanks in the template.
- Create callbacks in our program.
Let’s take care of these actions right now.
Step 5: A RootTemplate setting
We’ll build a new FlutterCarplay object in our main.dart file. Our connection to CarPlay will be managed by this object, which also gives us control over what happens when we’re using CarPlay:
|
1 |
final _flutterCarplay = FlutterCarplay(); |
Next, we want to set up the RootTemplate with a few tapable settings within our initState for our widget. It’s simple to make a grid template, give it a label, and then list the buttons we want to be able to press:
|
1 2 3 4 5 6 7 8 9 10 11 12 13 14 15 16 17 18 19 20 21 22 23 24 25 26 27 28 29 30 31 32 33 34 35 36 37 38 39 40 41 42 43 44 45 46 47 48 49 50 51 52 53 |
@override void initState() { FlutterCarplay.setRootTemplate( rootTemplate: CPGridTemplate( title: "What pizza?", buttons: [ ...Data.FoodItems.map( (e) => CPGridButton( titleVariants: [e.name], image: 'assets/images/${e.asset}', onPress: () { showOrderingConfirmationSheet(e); // showActionSheet(); }, ), ) ], ), animated: true, ); _flutterCarplay.forceUpdateRootTemplate(); // This makes the CarPlay experience reload on hot reload, useful during development. // TODO: implement initState super.initState(); } |
As expected, this is the result:
Now, let’s implement showOrderingConfirmationSheet:
|
1 2 3 4 5 6 7 8 9 10 11 12 13 14 15 16 17 18 19 20 21 22 23 24 25 26 27 28 29 30 31 32 33 34 35 36 37 38 39 40 41 42 43 44 45 46 47 48 49 50 51 52 53 54 55 56 57 58 59 60 61 62 63 64 65 66 67 68 69 70 71 72 73 74 75 76 77 |
void showOrderingConfirmationSheet(FoodItem food) { FlutterCarplay.showActionSheet( template: CPActionSheetTemplate( title: "Order ${food.name}?", message: "Your pizza will be ready soon after confirmation.", actions: [ CPAlertAction( title: "Cancel", style: CPAlertActionStyles.cancel, onPress: () { // print("Cancel pressed in action sheet"); FlutterCarplay.popModal(animated: true); }, ), CPAlertAction( title: "Ok", style: CPAlertActionStyles.normal, onPress: () { print("Ok pressed in action sheet"); FlutterCarplay.popModal(animated: true); FlutterCarplay.showAlert( template: CPAlertTemplate(titleVariants: [ '${food.name} ordered!' ], actions: [ CPAlertAction( title: "Dismiss", style: CPAlertActionStyles.destructive, onPress: () { print("Dismiss pressed in action sheet"); FlutterCarplay.popModal(animated: true); }, ), ])); }, ), ], ), ); } |
As a consequence, the specific food item is opened, and a confirmation message is shown. Depending on your requirements, you may also use native Flutter app capabilities at this point, such as adding or deleting things from an internal database.
Over To You
As always, you can get the complete source code on Github. You can use this to compare what changed because there is a commit from before I introduced CarPlay and a commit from after I had done so. If you have trouble installing CarPlay, this comparison could be helpful.
This is how you integrate and migrate apps in CarPlay using Flutter. Getting Apple to authorize your use of CarPlay inside your app takes up the most time when implementing CarPlay. You should begin developing your Flutter app as soon as possible if you want to start integrating CarPlay inside it.
The process of adding CarPlay to your Flutter app might be time-consuming, but if CarPlay is a suitable fit for your app, simply hiring a top Flutter app development company like us can significantly improve the user experience.


