


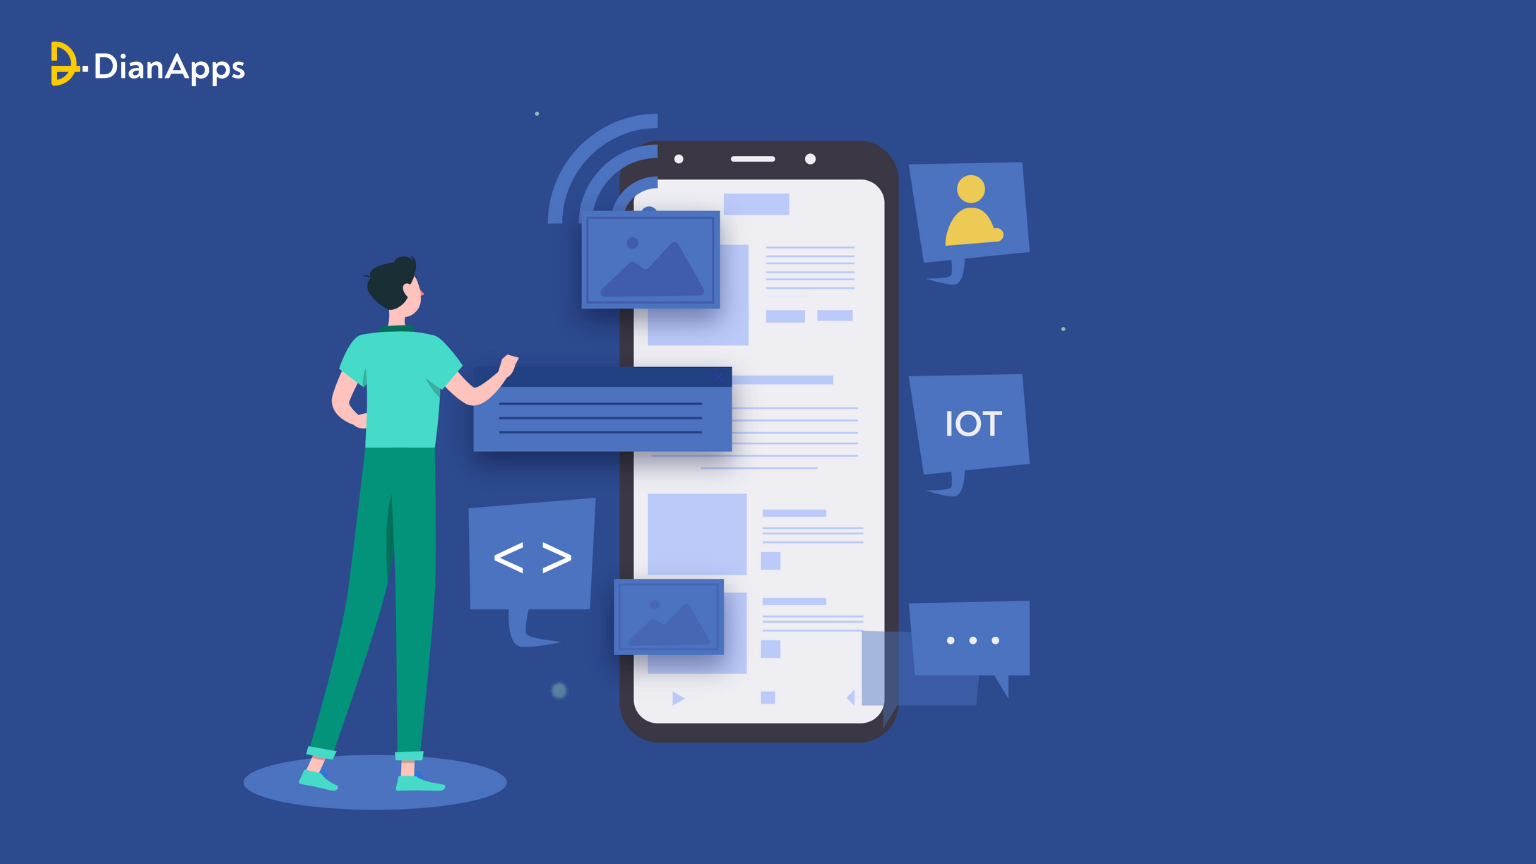
As technology continues to infiltrate every aspect of our daily lives, creating innovative IoT (Internet of Things) apps has become a hot trend. IoT involves connecting devices on a network to share data with other devices and systems over the Internet. People love the convenience of controlling their appliances or multiple devices from their smartphones.
The demand for IoT-enabled devices is on the rise, with many businesses relying on IoT devices. This has created a growing need for IoT app development. At a compound annual growth rate (CAGR) of 21.9%, the worldwide IoT market will grow from $399.41 billion in 2022 to $486.7 billion in 2023.
Among the many app development platforms available, Flutter stands out to go hand-in-hand with IoT software development. It has gained recognition in the industry, thanks to big brands like Alibaba and Philips using it for their mobile apps.
In this blog, we’ll explore why Flutter is a popular choice for IoT app development. We’ll discuss its advantages and provide you with solid reasons to understand why it’s a top choice. Let’s dive in and find out more about what makes Flutter the preferred platform for IoT app development. Are you ready to get started?
What makes Flutter the right choice for IoT app development?
1. Fast development
Recently, when we talk about Flutter, swift mobile app development automatically comes to mind. The beauty of Flutter lies in its ability to use a single codebase for both Android and iOS platforms, eliminating the need for writing separate codes. This unique advantage saves a tremendous amount of time compared to other development platforms and frameworks.
What’s even more remarkable is that mobile application development using Flutter is considerably shorter when compared to creating native apps for different platforms. This efficiency makes the development of IoT apps using Flutter a swift and time-saving job.
2. Multiplatform solutions
With Flutter’s capability to use a single codebase, developers can efficiently create two separate IoT apps for different operating systems. Additionally, Flutter is a preferred choice for developing Minimum Viable Products (MVPs), especially when a prototype of the app is readily available, making the process of IoT app development straightforward.
3. Reduced cost
Choosing the right framework for smart IoT app development is essential, as costs can quickly escalate. Flutter shines in this regard by offering swift and cost-effective development. This makes it an ideal choice for almost every mobile app development company with budget constraints, particularly startups seeking to develop IoT apps without exceeding their financial limitations.
4. Smooth deployment
Flutter, a contemporary cross-platform framework, provides software and quality assurance engineers with a productive development environment and powerful tools for efficient testing and debugging of applications. Furthermore, Flutter’s hot reload feature empowers mobile app developers to update code, review modifications, and deploy IoT applications in real time, ensuring a swift and clean deployment process on various app stores.
5. High productivity
Opting for Flutter app development in the IoT domain is advantageous due to its scalability. Dart, the language behind Flutter, ensures optimized and straightforward syntax, running smoothly across Android, iOS, desktop, and web applications. Using a single codebase for various devices enhances productivity and simplifies maintenance, making Flutter an ideal choice for scalable and efficient IoT apps.
6. Native-like performance
Flutter has gained immense success due to its ability to deliver a native-like user experience and performance. This characteristic extends to IoT app development as Flutter app development services offer an array of libraries, components, and widgets that faithfully replicate the look and feel of native apps. As a result, creating IoT apps on Flutter ensures a easy and native-like experience for users.
7. Custom UI
Creating a user interface tailored to your app can be daunting, especially for strong IoT devices. Flutter’s versatility and abundant tools make customization unified. With Flutter’s capabilities, crafting an engaging user interface becomes effortless, enticing users to explore your app extensively. Explore our UI/UX design services for a tailored and captivating user experience.
How to build an IoT app with Flutter?
1. Setting up Bluetooth for Communication:
To integrate Bluetooth or WiFi connectivity in a Flutter app development for IoT, additional configurations are essential. It’s essential to note that Flutter lacks built-in support for Bluetooth, necessitating the use of plugins. Exploring third-party Bluetooth APIs becomes necessary for efficient connection management. In our experience, we initially opted for Flutter_Blue but encountered challenging, hard-to-reproduce issues.
Consequently, we switched to flutter_ble_lib, built on reliable native libraries like RxAndroidBle and RxBluetoothKit, ensuring smooth communication and smooth integration.
2. Adding Basic Structure:
You should first add the basic structure to the main, dart file. Make sure to remove all the Flutter demo counter codes from the file.
Since we are connecting over Bluetooth for understanding, you need a widget for Bluetooth App Class. You will need to ensure that the widget state keeps evolving during the software app lifecycle, as you will use it for different purposes at different times.
3. Enabling Connection with Bluetooth:
Now, it’s time to establish a Bluetooth connection with the device, ensuring persistent pairing for convenient future use. As a developer of a prestigious Flutter app development company, your focus shifts to enabling and managing the Bluetooth connection. Initialize essential variables, incorporate the required Bluetooth pairing retrieval class, and set the current Bluetooth state to initiate().
This step determines whether Bluetooth is on or off, allowing the device to send a request to switch it on when needed. Functions like enableBluetooth() grant access to Bluetooth, while getPairedDevices() retrieves a list of all paired devices. Additionally, define a memory variable to remember the pairing in case of disconnection.
4. Design the Interface:
You need to design the layout for Bluetooth on and off and connect and disconnect. You will need to define the code structure to help you get standard buttons and design for the interface. It should be a simple toggle at the user’s end so that they can quickly make the decision.
5. Connecting the Modules to a Microcontroller:
Having successfully configured Bluetooth pairing and integrated the necessary plugin, the next step is incorporating the device into the custom software development. This involves utilizing hardware components such as the Arduino Uno Rev3 microcontroller, jumper wires, a switch, and a Bluetooth transceiver module. The Arduino Uno Rev3 serves as the electronics controller, allowing the upload of the configured code for clean interaction between the software and the connected device.
6. Setting up the Controller:
The final step entails configuring the controller, integrating the developed logic using Flutter, and establishing a connection with a web editor. With the code now present on the web editor, you’re prepared to conduct thorough testing of the app before proceeding with the deployment phase. This process ensures the easy execution of the developed logic within the controller, providing a comprehensive assessment of the app’s functionality.
Post-development Requirements
- Security and Privacy
It is essential to prioritize the security of user data by implementing solid encryption measures, safeguarding against potential security breaches. Additionally, deploying effective authentication protocols is essential to restrict unauthorized access during communication processes. These measures collectively contribute to building a secure environment, enhancing user confidence in the protection of their sensitive information.
- Scalability and Future-proofing
When developing the application, prioritize a design that effortlessly facilitates updates and cleanly integrates new devices. Build an architecture that is both scalable and flexible, allowing for the smooth addition of functionalities and devices without jeopardizing the application’s overall stability. This user-centric approach not only ensures a superior experience through timely updates but also future-proofs the application, aligning it with modern-day technology. For comprehensive assistance in achieving these goals, consider reliable app development services.
- Testing and Debugging
Once your application is prepared for deployment, thorough testing across multiple platforms is essential to ensure unified functionality. Implement sturdy error handling mechanisms to address uncertainties, providing a smoother user experience (UX) and enhancing the overall reliability of the application. Testing across various platforms guarantees consistent performance, delivering a reliable and user-friendly application to your audience.
How Much Does A Flutter-Built Iot App Cost?
Typically, the cost of Flutter app development for IoT software ranges from $10,000 to $50,000, with the possibility of exceeding this estimate based on the app’s features and integration.
The overall cost is a composite of three main expenses, which include:
1. Design and Development Cost
The design of your IoT app, encompassing both aesthetic and functional aspects, incurs expenses during mobile app development. This includes creating a brand-aligned, user-friendly UI and UX, involving processes like wireframing, prototyping, and iterative UI design. Additionally, the development of the app’s features, integration of third-party libraries or plugins for IoT connection, implementation of UI components, and ensuring responsive design all contribute to the overall development costs.
2. Integration Cost
Integration is a essential phase that links your Flutter app with IoT devices and third-party services. The costs associated with integration can vary based on the complexity of your IoT environment. If your software interacts with sensors, lighting, or thermostats, integration may pose challenges, potentially resulting in higher expenses. Moreover, incorporating additional APIs, such as weather data or user identification, further contributes to the overall costs of integration.
3. Deployment and Testing Cost
Testing and deployment are essential stages for ensuring a smooth user experience and successful app release. QA software testing techniques play a vital role in identifying errors, ensuring optimal app performance, and delivering a reliable user experience. This phase may involve various testing procedures, including beta testing, user acceptability testing, and device compatibility testing. Additionally, deployment costs encompass activities such as app store account creation, app release preparation, and ongoing update management. These processes contribute to a smooth and efficient release of the Flutter-built IoT app.
Also read about: IoT, Bots and Mobile Apps – A Victorious Trident for the Future
So, what do you think of developing IoT apps with Flutter?
While Flutter is a relatively new framework, its popularity has surged across various industries. Its growing community, backed by Google’s influence, has fueled its success. Considering its current trajectory, Flutter holds promise for delivering even more strong features for IoT app development in the future.
If you’re hesitant about Flutter, consider seeking professional advice. Discuss your project with experts and hire Flutter app developers from a reputable Flutter app development company. DianApps stands out as the best choice for top-notch Flutter app development services. Connect with us and start creating a next-generation IoT app set to make waves.


Leave a Comment
Your email address will not be published. Required fields are marked *