


In the present times, CRM is increasingly becoming popular among businesses and young entrepreneurs. CRM helps you build lasting relations with current and prospective customers to encourage and retain them. If you might not know, 65% of businesses adopt a CRM in the initial five years of their establishment.
To achieve the best out of their CRM, companies are turning towards the powerful and leading CRM platform in charge – Salesforce!
Salesforce, being one of the most widely used CRM platforms has been ruling for more than a decade now! Surprising, right? Well, the success credit of Salesforce largely goes to its automation and advanced features. Since this is a reliable platform, it is also known for its versatility and capabilities to streamline business workflows with flexible environments.
If you are a business owner looking to integrate CRM through Salesforce or a developer who wants to know what the Salesforce development environment setup looks like, this blog is for you!
Read through to know about the fundamentals of Salesforce development, environment, its characteristics and types along with the process of setting up the Salesforce development environment.
Understanding Salesforce Development
Salesforce development isn’t just about learning how to use a tool; it’s about helping businesses grow by improving how they manage customer relationships and run their operations. It includes coding, customizing, and building apps within the Salesforce platform to make things work better.
What are Salesforce Environments?
Salesforce environments are like separate workspaces within the Salesforce Platform where you can build, test, and deploy your applications. They help you make changes and add new features without affecting your current business operations. Here’s a quick look at the main types of Salesforce environments and who might use them:
Primary Types of Salesforce Environments
- Production Environment: This is the live Salesforce environment where your organization’s real data and business processes are managed. It’s the actual system used by end-users to conduct daily operations. It’s where you deploy the final versions of your applications and customizations after thorough testing.
- Development Environment: This is where you build and customize your Salesforce applications. It’s a space to develop and experiment with new features before moving them to a Testing environment. In this controlled setting, you can create, modify, and test new applications and customizations, leveraging Salesforce Customization Services to customize the platform to your business needs.
- Sandbox Environment: This is a copy of your Production environment is helpful for testing and development. You can try out new features and updates here before making changes to the live system.
- Scratch Orgs: These are temporary environments built for specific tasks or projects. They’re perfect for quick testing and development.
Uses of Salesforce Environments
- Building: Create new applications or features.
- Testing: Try out changes and updates safely.
- Deploying: Move new features to your live system without disruption.
Each environment serves a specific purpose and helps ensure your Salesforce applications run smoothly and efficiently.
In this post, we’ll have a detailed look at the development environment in Salesforce!
Overview of Salesforce Development Environment
In Salesforce, the development environment or organization is your workspace that you access with a specific login. Just like when you create a Gmail account, you get a username and password to use your email. Similarly, when you sign up for Salesforce on force.com, you get a exceptional username and password to access your cloud workspace, called an environment or Org, where you can work on your projects.
Characteristics of Salesforce Development Environment:
- It’s a free, completely featured version of Salesforce, but with fewer users and less storage compared to the Enterprise edition.
- You can sign up for as many development environments as you need.
- It’s perfect for building custom Salesforce apps that will be used in any Salesforce production environment.
Basic Features of Salesforce Development Environment that every user can have by default:
- The development environment is suitable for developing, testing, and even running live projects.
- You can customize the environment to fit your needs, like adding Apex code, setting up workflows, and creating custom databases and objects.
- Furthermore, the environment comes with basic features, but some advanced features like multi-currency or developer previews should be enabled separately.
- It’s easy to access your environment using a web browser.
- Lastly, Some environments are also accessible with tools like the Metadata API, SOAP API, and Force IDE.
Why is Setting Up a Development Environment Important in Salesforce?
Development Environment in Salesforce is popular because it’s easy to use and offers lots of customizable features. Here’s what makes it different:
- Highly Customizable: You can change Salesforce features and settings to suit your specific needs.
- 360-Degree View: It gives you a complete view of your customers, helping you understand them better.
- Automation: Salesforce comes with tools that can automate tasks and offer smart suggestions, making your business processes faster and smarter.
- Constant Improvement: Salesforce keeps evolving and growing, so it can adapt to any changes your business might need.
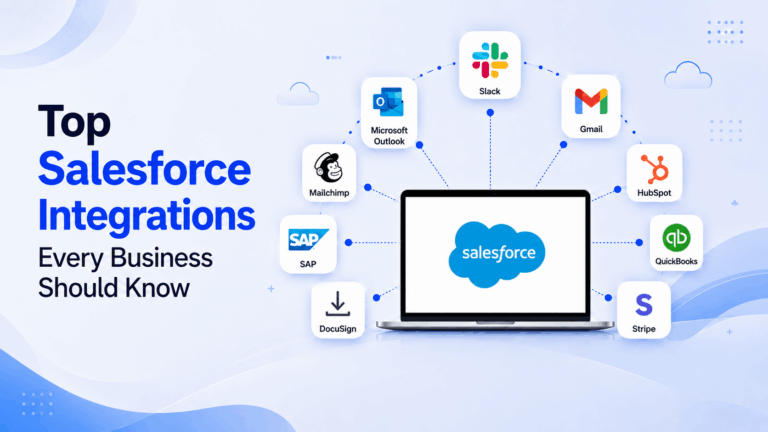
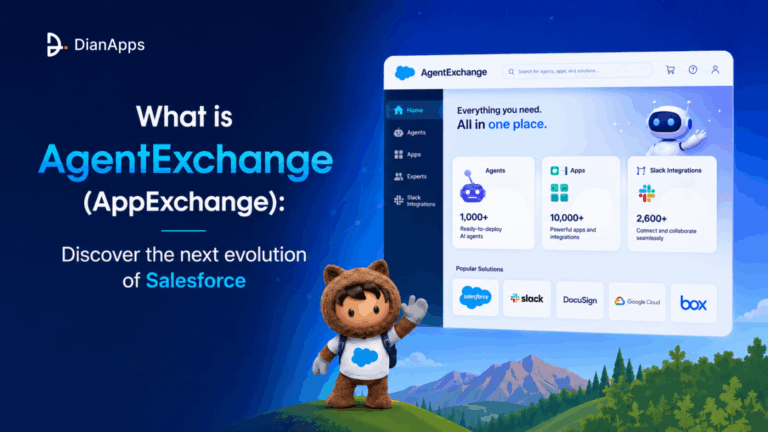
- AppExchange: Simply put, consider it as Salesforce’s app store. So, you can find and add third-party apps to make Salesforce even more powerful and personalized.
Prerequisites for Setting up Salesforce Development Environment
In order to start operating with Salesforce Functions, you’ll need:
- Node.js 20 or higher: This is needed to develop functions using JavaScript or TypeScript. Therefore, make sure you also have npm version 10.1.0 or higher.
- OpenJDK 8 or higher and Apache Maven 3.6.3 or higher: These are required if you’re developing functions using Java.
- Git: Use either the Git command line tool or a GUI client to monitor changes in your function code.
- GitHub Account: If you want to push your code changes to GitHub, create a free account at github.com.
- Log Drain Setup: To save logs from your functions, set up a log drain receiver or sign up with a service that handles log drains. You can find more info on Function Logging.
How to Set up a Salesforce Development Environment?
1. Install and Update Salesforce CLI
1. Install Salesforce CLI
Download and install Salesforce CLI, a tool that helps you work with Salesforce from the command line.
2. Update to the Latest Version
Make sure you have the most recent version of Salesforce CLI sf update. This ensures you have the latest features and fixes.
|
1 |
sf update |
Note: Run the update command ‘sf update’ even if you previously installed Salesforce CLI.
3. Check Your Salesforce CLI Version
Confirm you’re using Salesforce CLI v2 sf –version. You can check your version by running a command.
|
1 |
sf --version |
If your output shows something like:

It might be possible that you’re on an older version and need to update. Follow the instructions to switch from sfdx v7 to sf v2.
4. Install the Salesforce Functions Plugin
Add the Salesforce Functions plugin sf plugins install functions to your CLI setup. This plugin allows you to work with Salesforce Functions.
|
1 |
sf plugins install functions |
5. Verify Installed Plugins
Run sf plugins –core to see a list of all the plugins you have installed. Make sure the Salesforce Functions plugin is listed.
The output would look like this:
|
1 2 3 4 5 6 7 8 9 10 11 12 13 14 15 16 17 18 19 20 21 22 23 24 25 26 27 28 29 30 31 32 33 34 35 36 37 38 39 40 41 42 43 44 45 46 47 48 49 50 51 52 53 54 55 56 57 58 59 60 61 62 63 64 65 66 67 68 69 70 71 72 73 74 75 76 77 78 79 80 81 82 |
sf plugins --core @oclif/plugin-autocomplete 3.0.4 (core) @oclif/plugin-commands 3.1.0 (core) @oclif/plugin-help 6.0.9 (core) @oclif/plugin-not-found 3.0.7 (core) @oclif/plugin-plugins 4.1.14 (core) @oclif/plugin-search 1.0.10 (core) @oclif/plugin-update 4.1.7 (core) @oclif/plugin-version 2.0.11 (core) @oclif/plugin-warn-if-update-available 3.0.8 (core) @oclif/plugin-which 3.0.14 (core) @salesforce/cli 2.23.20 (core) apex 3.0.14 (core) auth 3.1.0 (core) command-reference 3.0.61 data 3.0.13 (core) deploy-retrieve 2.2.12 (core) functions 1.22.11 <================= Functions plugin! info 3.0.13 (core) limits 3.1.0 (core) marketplace 1.0.15 (core) org 3.2.0 (core) packaging 2.0.1 (core) schema 3.1.0 (core) settings 2.0.14 (core) sobject 1.0.7 (core) source 3.0.10 (core) telemetry 3.1.8 (core) templates 56.0.8 (core) trust 3.2.5 (core) user 3.2.0 (core) Uninstalled JIT Plugins: community 3.0.10 custom-metadata 3.0.12 dev 2.1.3 devops-center 1.2.5 env 3.0.13 signups 2.0.13 @salesforce/sfdx-plugin-lwc-test 1.1.1 @salesforce/sfdx-scanner 3.19.0 |
2. Use the Salesforce SDK for Functions
- What You Need: To create functions using TypeScript or Java, you need the Salesforce SDK.
- How It Works: When you create a new function with the command sf generate function, the SDK automatically includes the necessary tools and libraries in your example code.
3. Install Salesforce Extensions for Visual Studio Code
- What You Need to Do: If you use Visual Studio Code as your code editor, you should add the Salesforce Extensions.
- How to Install:
- Option 1: Open Visual Studio Code, search for “Salesforce Extensions,” and install it from there.
- Option 2: Go to the Salesforce Extensions for Visual Studio Code page and click the “Install” button
It’s a Wrap!
Setting up your Salesforce development environment is an important step in building, testing, and deploying compelling apps on the Salesforce platform. By understanding and setting up your environments, whether it’s Developer Edition, Sandboxes, or Scratch Orgs, you ensure a smooth development process and minimize troubles to your ongoing operations.
Hence, with the right tools like Salesforce CLI, SDKs, and Visual Studio Code extensions, along with proper setup and management, you’ll be well-equipped to create innovative solutions and optimize your Salesforce experience. Even better, you can get in touch with a professional Salesforce Development Company to understand and set up these environments to streamline your workflow and enhance your development capabilities.
Also read: Why Is DianApps A Top Salesforce Development Company?


Leave a Comment
Your email address will not be published. Required fields are marked *