
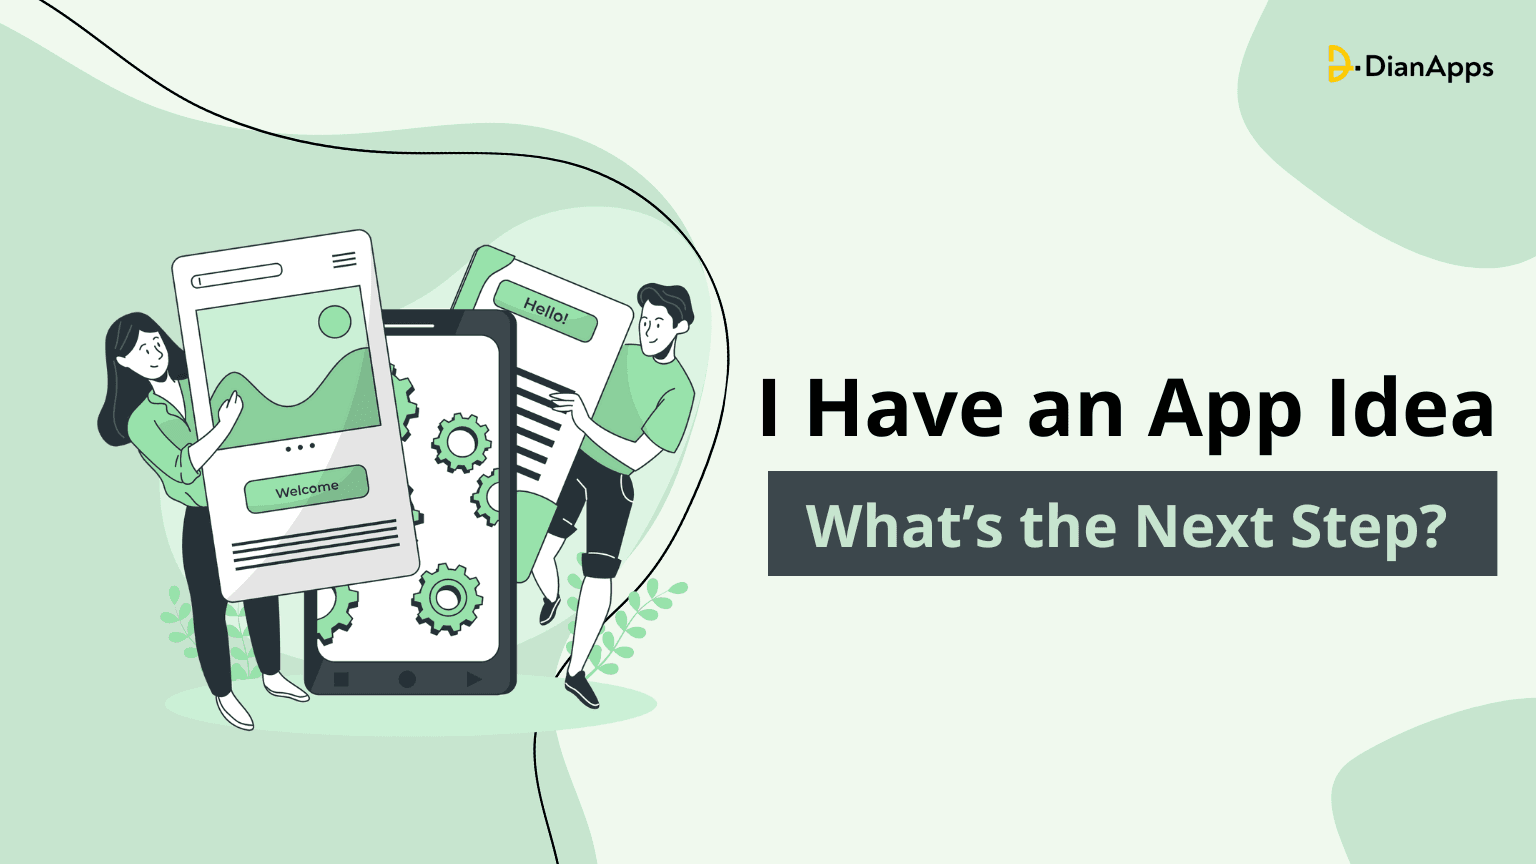
Have you ever caught yourself saying, “I have an app idea, but I don’t know what to do next?” You’re not alone.
Every successful app, from Uber to Instagram, once started as a simple idea.
But while having an idea is easy, turning it into a real, revenue-generating product is where the real challenge (and opportunity) lies.
According to Statista, over 255 billion mobile app downloads occurred worldwide in 2023.
And yet, over 80% of app ideas never make it past the concept stage, not due to lack of funding, but because of uncertainty around what comes next.
So let’s break that cycle.
Whether you’re a startup founder, solo entrepreneur, investor, or even a developer exploring a side hustle, this guide walks you through the exact steps to take after you get your “Aha” moment.
From validating your app idea to building a fully functional Minimum Viable Product (MVP), and even leveraging AI to accelerate development, this tutorial-style blog covers it all.
We’ll also answer essential questions along the way, like:
- How do I validate my app idea without wasting time or money?
- What tools can help me wireframe and prototype easily?
- Can I use AI to help build or test my app concept?
- Should I hire a freelancer, build in-house, or go with a custom software development company?
By the end, you won’t just have an idea, you’ll have a roadmap.
Let’s turn that “what if” into “what’s next.”
Steps to Get Started With Building Your App
Step 1: Define the Problem That “Only” Your App Can Solve
The first rule of building an app is to define the problems, not just from your business’s point of view, but from your user’s perspective. Ask yourself: What problems can only my app solve?
Apps that succeed aren’t built just on ideas, they’re built on solutions. Your app must fix a real, recurring pain point that users genuinely care about.
Here’s how to approach it:
1. Start with user frustration
What everyday problems do your users face?
- Are they spending too much time on a task?
- Do they feel overwhelmed or stuck using current solutions?
- Is there a lack of convenience, speed, or personalization?
For example, Busy parents struggle to manage their kids’ study schedules. My app syncs homework, school updates, and reminders in one place.
2. Focus on one core issue
Trying to solve too many problems at once will confuse your users and slow down development.
Start by solving one problem brilliantly others can follow later.
Think Airbnb: It started by helping people rent a room when hotels were too expensive or full, a very specific and timely problem.
If you’ve decided to build an app like Airbnb but have no idea on how much will it cost, here’s an idea!
3. Make sure it’s a shared problem
Ask: “Is this a one-person problem, or are thousands (or millions) of people facing the same thing?” If your app solves a shared, specific, and constant issue, you’re heading in the right direction.
ProTip:
Use this formula to define your app problem clearly: My app helps [target users] who struggle with [the problem] by [the solution your app offers].
Step 2: Validate Your App Idea Without Writing a Line of Code
So you’ve defined a real problem your app will solve—great start. But before you invest time, money, or energy into building it, ask yourself:
“Is there a real demand for this app?”
The smartest way to move forward is to validate your idea—without writing a single line of code.
Here’s how:
1. Talk to Real People
Start simple. Share your idea with:
- Friends and colleagues
- People in online communities (Reddit, LinkedIn, Twitter, niche forums)
- Potential users from your target industry
Ask questions like:
- “Would you use an app that does [X]?”
- “How are you currently solving this problem?”
- “What would make you actually download this app?”
These conversations offer more insight than most analytics tools.
2. Create a Landing Page
Build a basic web page that explains:
- What your app will do
- Who it’s for
- A simple CTA: “Join the waitlist” or “Sign up for early access”
Use platforms like Carrd, Webflow, or Unbounce, no coding needed.
Then, share your page on:
- Social media
- Reddit groups
- Online communities
- Niche newsletters
If people sign up or share the page, you’ve got interest. If not? You may need to refine your concept.
Also read: How to build a mobile app without coding.
3. Run a Quick Survey
Use Google Forms, Typeform, or Tally to collect fast feedback.
- What’s your biggest challenge with [problem your app solves]?
- Would you use an app that helps with that?
- What feature would matter most to you?
This helps you uncover what users actually want—not what you assume they do.
4. Post on Product Hunt or Indie Hackers
How to validate your mobile app idea? By talking to real users, testing your idea with a landing page, and measuring response before any development begins. Communities like Product Hunt or Indie Hackers are packed with early adopters who love trying new tools.
- Share your app idea
- Ask for feedback
- Build a following even before launch
Step 3: Sketch Your App! Create a Wireframe or Mockup
Now that you’ve validated your idea, it’s time to turn thoughts into visuals. No, you don’t need to be a designer or developer for this step. You just need to show how your app will work.
This stage is all about creating a wireframe—a simple layout of your app’s screens and user flow.
What is a Wireframe?
Think of it as your app’s blueprint. A wireframe shows:
- What features will appear on each screen
- Where buttons, icons, and menus will go
- How users move from one screen to the next
It’s not about fancy design, it’s about structure and logic.
Tools You Can Use (No Code Needed)
- Figma (free and collaborative)
- Balsamiq (easy for beginners)
- Pen & paper (yes, it works!)
Many successful apps started as napkin sketches. What matters is the clarity of your idea, not the polish.
Why Wireframing Matters
- It helps you think through the user experience
- Lets you identify gaps or complexities before coding
- Makes it easier to communicate your vision to designers, developers, or investors
Step 4: Create Your App Faster and Smarter With AI (Recommended)
What if you could speed up your app’s journey from idea to execution, and make smarter decisions along the way? With the rise of AI-powered tools, you absolutely can.
You don’t need to be a developer or tech expert to benefit. AI can help at every stage of the process, from brainstorming features to building your first prototype.
Why AI Is a Game-Changer for Founders
- Cuts down research, design, and planning time
- Helps non-technical entrepreneurs bring their ideas to life
- Keeps costs low in the early stages
- Speeds up feedback cycles and iteration
1. How AI Can Accelerate Your App Idea
Generate & Refine Ideas
Use tools like ChatGPT, Notion AI, or Jasper to:
- Explore app use cases
- Define user personas
- Generate feature lists
- Identify edge cases you might overlook
So if your question is Can I use AI to brainstorm app ideas?” The answer is a Big Yes, AI helps you create, refine, and validate app concepts quickly.
2. Auto-Design Mockups & Prototypes
Platforms like Uizard, Galileo AI, and Figma AI can:
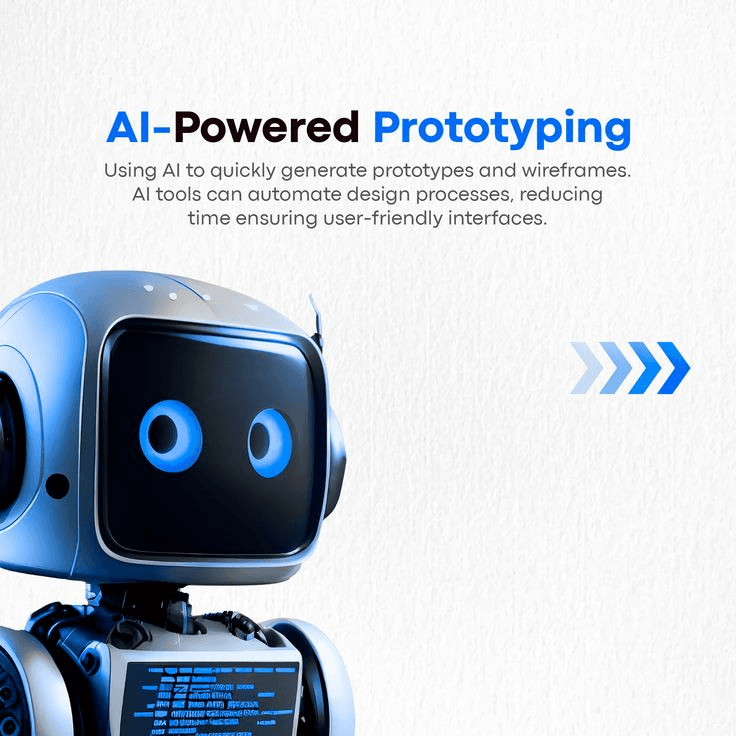
- Turn text prompts into wireframes
- Suggest UI layouts based on user stories
- Auto-generate screen flows
For example just type “create a 3-screen fitness app with a login, dashboard, and workout tracker,” and let AI do the heavy lifting.
3. Validate Your Idea with Predictive Insights
- Analyze your survey data
- Predict user behavior
- Estimate feature popularity before launch
Use tools like Typeform with AI summaries, or plug data into ChatGPT to get a clearer picture of what your audience really wants.
4. Build Without Code (Low-Code/No-Code + AI)
Use platforms like:
Let you build interactive MVPs using drag-and-drop interfaces enhanced by AI automation, perfect for early demos or pitching to investors.
Find out how FlutterFlow AI is reshaping the app development.
Step 5: Decide: DIY, Freelancers, or a Custom Software Development Company?
Now that your app idea is validated, visualized, and AI-assisted, it’s time for a big decision: Who will build your app?
There’s no one-size-fits-all answer, but the choice you make now can impact your timeline, budget, and final product quality.
Let’s break down your options:
1. Build It Yourself (DIY)
Ideal for:
- Developers with free time
- Founders with technical backgrounds
- Bootstrappers testing ideas on a shoestring budget
Pros:
- Total control
- Saves money
- Full ownership of the code
Cons:
- Time-consuming
- Steep learning curve for non-tech founders
- Risk of poor UX or architecture if rushed
With tools like Glide, Adalo, or Bubble, non-developers can create functional apps, but they come with limitations for scaling
2. Hire Freelancers
Ideal for:
- Short-term projects
- Founders who want flexibility
- MVPs with low complexity
Pros:
- Affordable (especially offshore)
- Wide talent pool
- Faster than solo development
Cons:
- Quality can vary
- You’ll need to manage timelines, testing, and revisions
- Risk of poor documentation or abandoned code
Always use platforms like Upwork, Toptal, or Lemon.io, and ask for previous app samples.
3. Partner With a Custom App Development Company
Ideal for:
- Businesses ready to scale
- Non-tech founders needing end-to-end support
- Complex apps requiring UX, backend, and DevOps
Pros:
- Dedicated team (PM, designer, developer, QA)
- Strategic planning and product advice
- Scalable and secure builds
- Post-launch support
Cons:
- Higher upfront cost
- Requires clear documentation and budget planning
If you’re building a serious product that demands scalability, security, and ongoing updates, hiring a dedicated company is often the smartest choice.
Step 6: Choose the Right Tech Stack for Your App
Once you’ve decided who is going to build your app, the next big question is:
What will they build it with?
Choosing the right technology stack is like choosing the foundation for your house, it affects speed, cost, scalability, and long-term success.
Let’s simplify it for you.
First, Choose Between Native and Cross-Platform
Native Development
Builds separate apps for iOS and Android app development services using platform-specific languages (Swift for iOS, Kotlin for Android).
Best for:
- High-performance apps (gaming, AR/VR, fintech)
- Complex UI/UX requirements
- Apps that need deep hardware access
Downside:
- Costly and time-consuming (two codebases to manage)
Cross-Platform Development
One codebase runs on both iOS and Android using frameworks like:
- Flutter (by Google)
- React Native (by Meta)
Best for:
- Faster development
- MVPs and scalable business apps
- Budget-conscious startups
No downsides here!
Flutter and React Native are top choices for cross-platform development, offering near-native performance with faster deployment.
Backend Technologies
Your app needs a server, database, and APIs to store and manage data. Common backend stacks include:
- Node.js (JavaScript-based, scalable, fast)
- Python + Django (great for AI, fintech, and enterprise apps)
- Firebase (ideal for real-time apps and MVPs)
- Ruby on Rails (great for building quickly and iterating fast)
Choose based on your app’s complexity, real-time needs, and expected user volume.
AI-Powered Features? Plan Ahead
If you plan to integrate AI features (chatbots, recommendations, image recognition, etc.), make sure your tech stack supports it.
- Python is strong for AI and machine learning
- TensorFlow Lite works for on-device AI
- OpenAI API or Google AI can be used via APIs for smarter interactions
Choose between native or cross-platform frameworks like Flutter or React Native, and pair them with backend tools like Firebase, Node.js, or Django based on your goals.
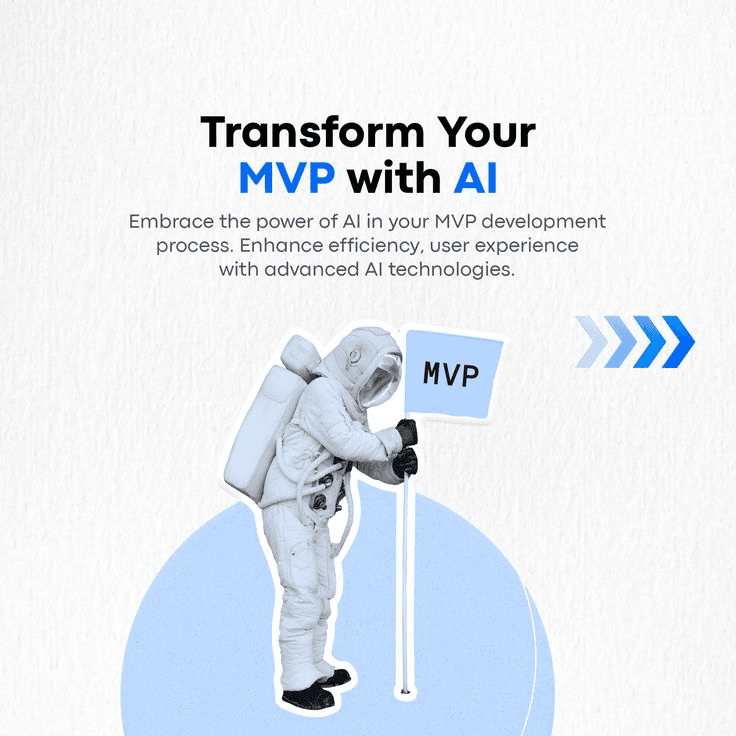
Step 7: Build Your MVP (Minimum Viable Product)
You’ve got a validated idea, wireframes, the right tech stack, and maybe even a team, now it’s time to turn your app idea into a usable product.
But don’t aim for perfection.
Your first goal is to launch an MVP: a Minimum Viable Product, the most basic version of your app that solves the core problem for early users.
What is an MVP?
An MVP is not a “lite” version of your app—it’s a focused solution built to test real-world usage.
- Only the core features (nothing more)
- Clean and functional UI (not flashy)
- Enough value for users to try it and give feedback
Think of Uber’s MVP: a button that books a cab. No gamification, ratings, or driver earnings dashboard, just the core value.
In case you’re looking for building an app like Uber, here’s the guide that might help!
How to Build Your MVP
1. Prioritize Features
Use the MoSCoW method:
- Must-Have: Essential to the app’s core purpose
- Should-Have: Adds value, but not urgent
- Could-Have: Nice to include later
- Won’t-Have (for now): Can wait for future versions
2. Set a Timeline
MVPs should be quick. Most startups aim to launch in 6–10 weeks, depending on complexity.
3. Use Lean Development Principles
Build → Launch → Learn → Iterate
Don’t waste resources perfecting something untested.
4. Test Internally First
Before releasing to the public, test within your team. Fix bugs. Smooth out rough edges.
5. Use feedback tools like:
- Hotjar or FullStory to track user interaction
- Typeform or Tally for in-app surveys
- Firebase Analytics for usage patterns
Start with core features only, prioritize user needs, and launch quickly to gather feedback for future improvements.
Step 8: Launch Your App & Get Real Users
You’ve built your MVP. Now it’s time to get it in front of the people who matter most—your users. A successful app launch is about much more than publishing on the App Store or Play Store. You need buzz, strategy, and feedback loops.
1. Prepare for Launch
Before going live, double-check:
- All core features are working
- Basic analytics are integrated (Google Analytics, Firebase, Mixpanel)
- App Store & Play Store listings are optimized with keywords, screenshots, and a clear value proposition
Include:
- App description with long-tail keywords
- Keyword-rich titles and subtitles
- High-quality screenshots and demo videos
- A killer tagline: “Get things done, faster” > “To-do app”
All-in-all, prepare with a tested MVP, keyword-rich listings, and a multi-channel promotion plan before publishing.
2. Market Like a Pro (Even With a Small Budget)
Use a mix of organic and paid tactics:
- Launch on Product Hunt to tap into early adopters
- Share on Reddit, IndieHackers, Hacker News, LinkedIn
- Post consistently on Twitter, Instagram, Threads
- Pitch your story to niche blogs and podcasts
- Run Google Ads or Meta Ads to targeted users
Offer early access, limited-time features, or community perks to attract first users.
3. Build a Community Around Your App
Your first 100 users are more than testers—they’re your advocates.
- A Discord server or Slack group
- Invite feedback and reward contributors
- Share your journey—successes and failures—publicly (founders love transparency!)
4. Analyze & Improve Post-Launch
This is where real product growth begins:
- Measure retention, feature usage, and drop-off points
- Ask users what’s missing or confusing
- Ship improvements fast
Pro Tip: Launch is not a finish line—it’s your starting gate.
Market on niche platforms, build community, use early incentives, and analyze behavior post-launch to keep improving.
Step 9: Stay Agile, Follow the Trends, Evolve Constantly
The app world doesn’t sit still. Neither should you.
After your initial launch, one of the most important things you can do is to stay in sync with what’s happening around your app, technologically, culturally, and behaviorally.
Here’s how to make sure your app never feels outdated:
1. Track User Behavior Continuously
Use tools like Mixpanel, Amplitude, or Firebase to monitor:
- Where users drop off
- What features they love
- What they ignore
Let data, not assumptions, guide your roadmap.
2. Monitor Industry Trends
Subscribe to tech news, monitor competitor updates, and keep adapting your roadmap based on user feedback and new tech.
- App store category rankings
- Emerging tech (AR, AI, Web3, wearables)
- Platform updates (iOS, Android guidelines, UI shifts)
Read the latest mobile app development trends!
3. Integrate New Features Smartly
- Use AI for personalization, automation, and smarter UX
- Add features gradually and test them in beta
- Follow the lean development cycle: Build → Test → Learn → Repeat
4. Keep This in Mind
- Collect feedback from reviews, app stores, and social media
- Stay open to pivoting your idea if the market demands
- Don’t cling to version 1, grow as your users grow
An app is not a one-time product. It’s a living experience that evolves with your users and the digital landscape.
Final Thoughts
You don’t need to have all the answers from day one. You just need to take the first smart step.
From defining the problem and validating your idea, to sketching wireframes, leveraging AI, and launching a lean MVP, you now have a blueprint that guides you from that “What if?” moment to an app people actually use and love.
The market is full of good apps. But the world still needs great ones that solve real problems in smarter ways.
Ready to Bring Your App Idea to Life?
Whether you’re a startup founder, investor, or growing business, DianApps is here to help you:
- Validate your vision
- Build fast with the right tech stack
- Integrate AI where it matters
- Launch with confidence
Let’s turn your app idea into your next big move. [Contact Us Today]


Leave a Comment
Your email address will not be published. Required fields are marked *