
Prototypes are crucial for mobile apps, helping you visualize how the app will function and identify potential issues early on. Unlike physical products, mobile app development can take many directions, making prototyping even more important.
In this guide, we’ll explain what app prototypes are, why businesses should create them, and provide a step-by-step approach to building an effective prototype with React Native in just two weeks. This process will help you create a successful product from the ground up.
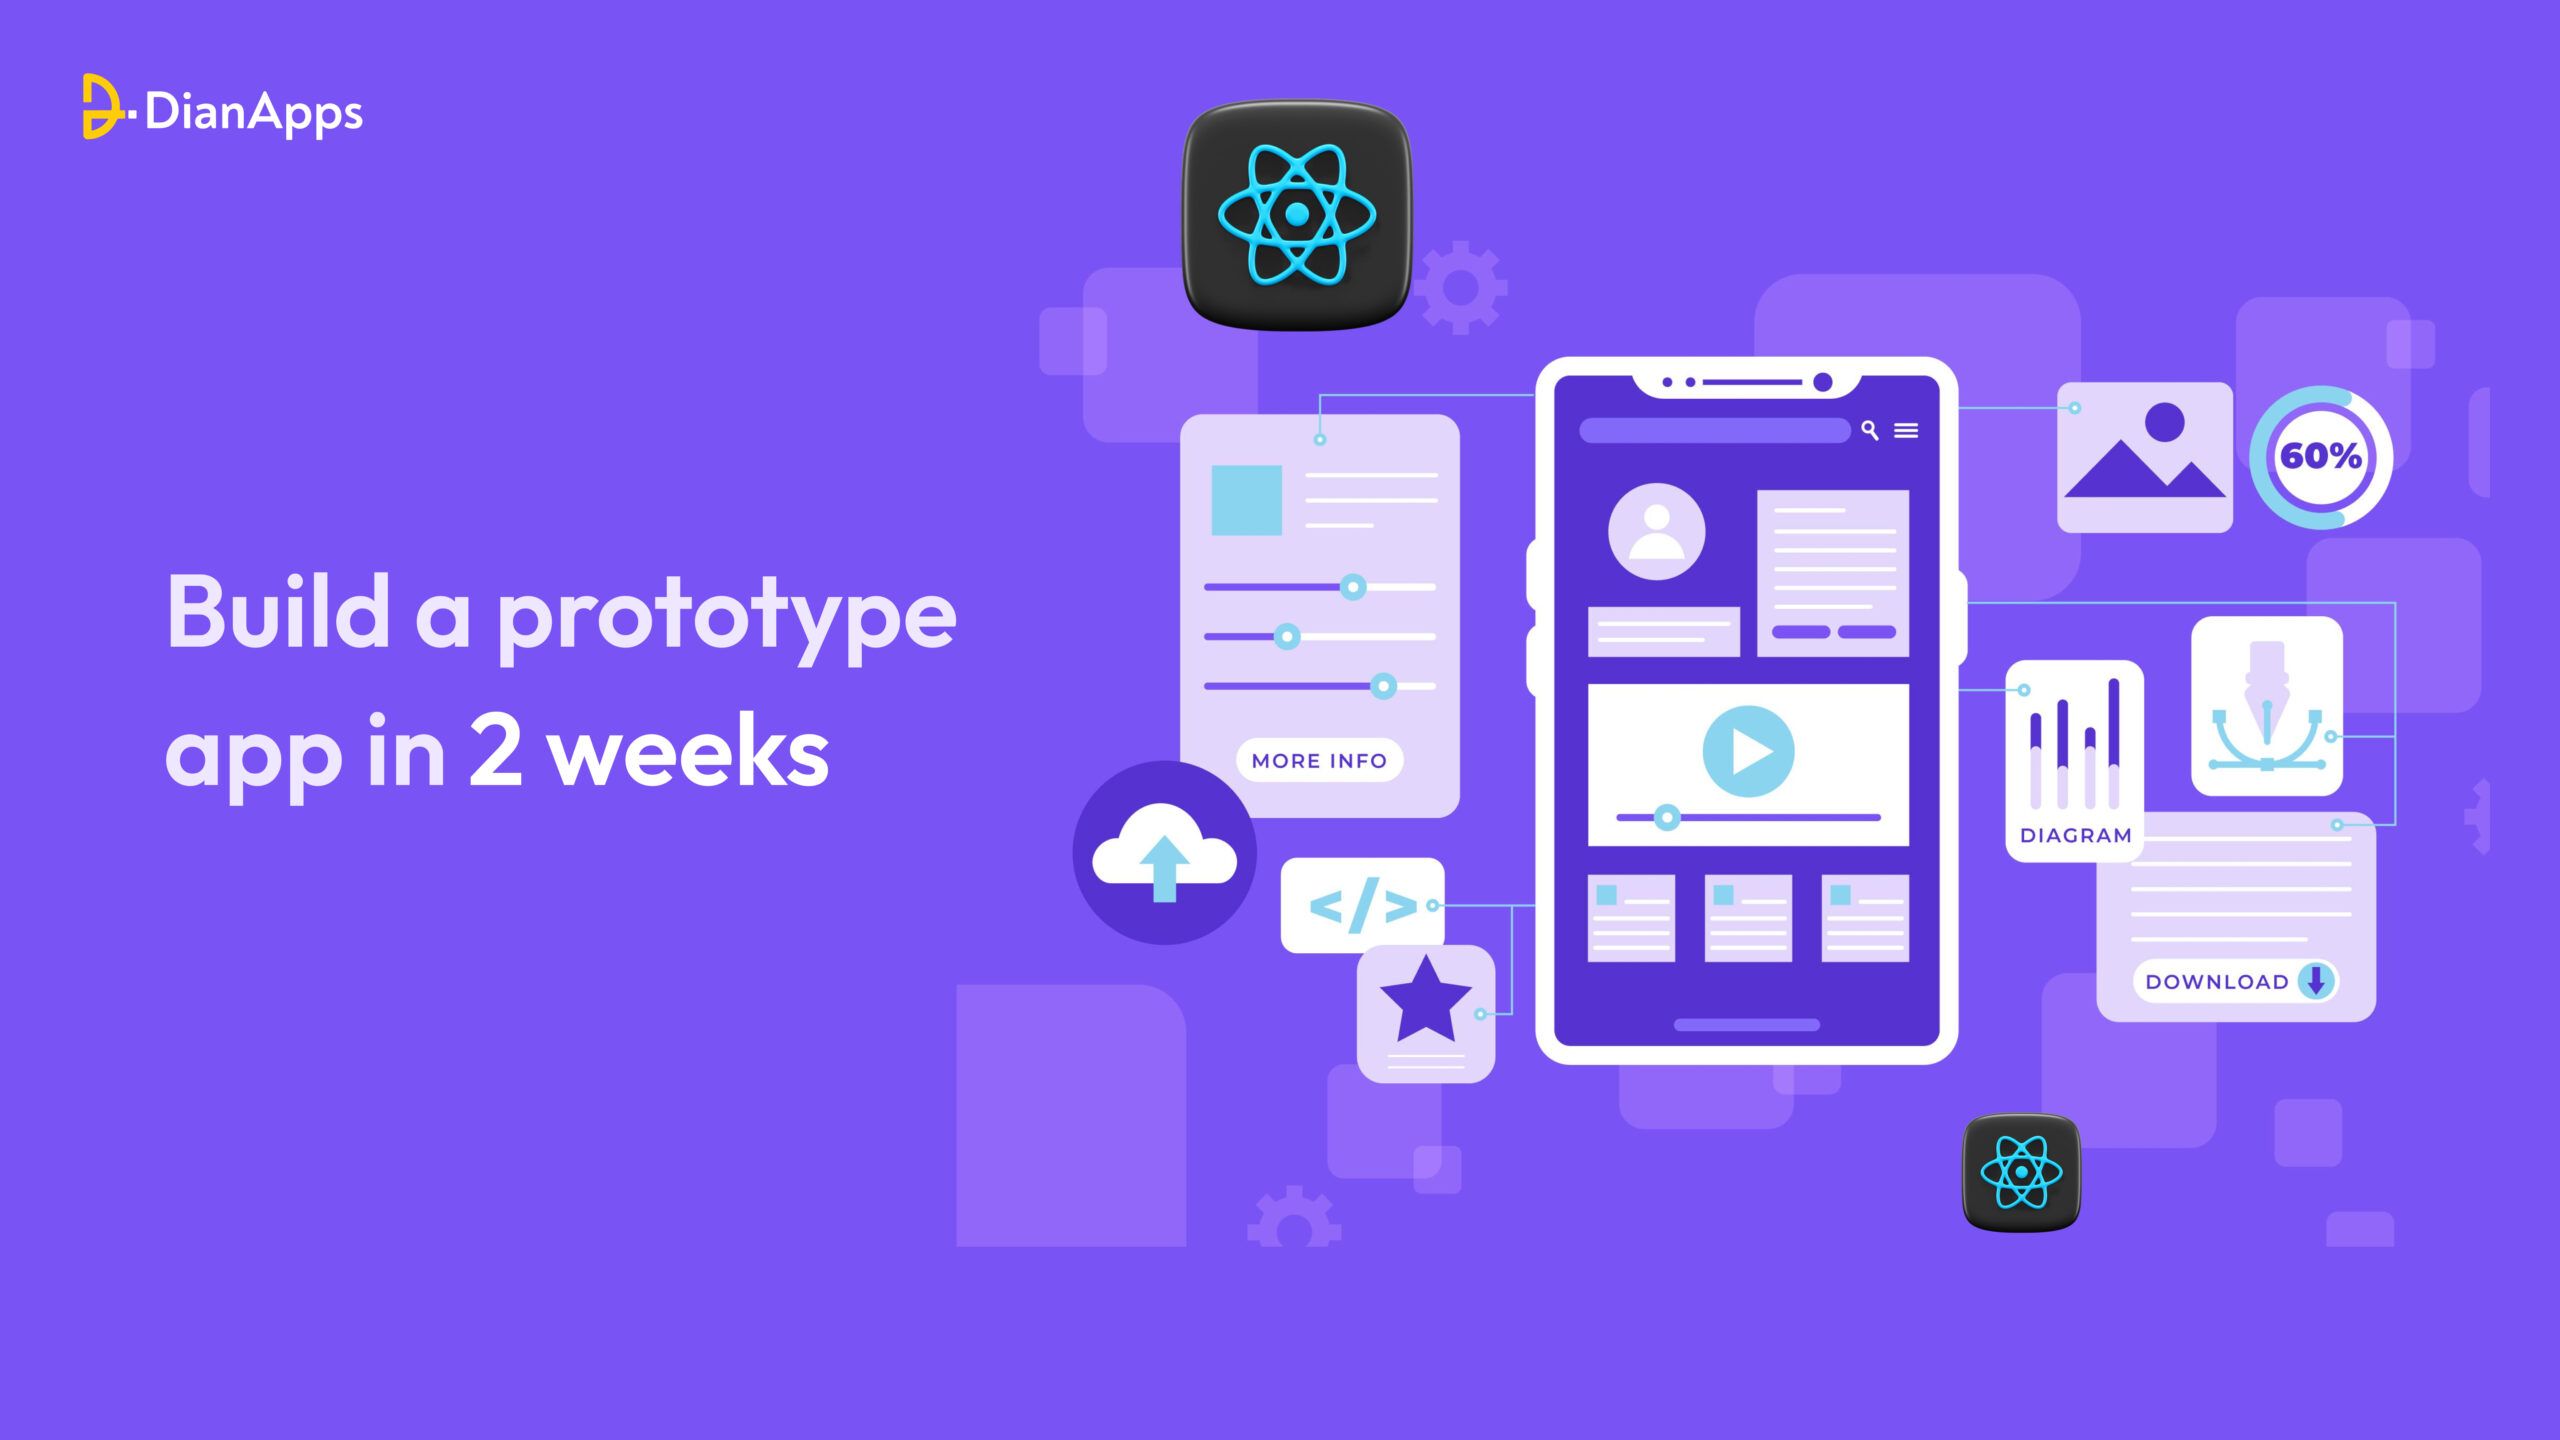
What is App Prototype?
A mobile app prototype is an interactive model of the app you plan to develop. It serves several purposes:
- Giving developers a clear guide for building the app
- Showing investors your idea when raising funds
- Testing the app with users to validate its key features and concepts
An app prototype is more detailed than a basic outline and usually includes design elements and animations to mimic how the app will work. However, it doesn’t have real functionality, it’s meant to be a guide, not the final product.
A good prototype highlights the app’s main features, user interface, and gives an idea of the user’s journey. But the features are often just visual representations, not actual working functions.
Benefits of App Prototyping
1. Better Visualization and Idea Sharing
Prototyping with React Native allows you to visualize, communicate, and share your app ideas more effectively. As Vlad Larin highlights, turning vague concepts into tangible prototypes makes it easier to refine and act upon them.
With a React Native prototype, you can:
- Test and iterate quickly on real devices, getting faster feedback.
- Communicate your vision clearly to stakeholders and team members.
- Align your development team early, reducing confusion and minimizing the need for major changes later.
Using React Native for prototyping ensures that everyone has a clear roadmap, streamlining the development process and speeding up your app’s progress toward completion.
2. Validate ideas and feasibility
Creating a React Native app prototype helps you better estimate the development costs of the final product. As Rodrig Naska points out, prototyping allows you to visualize your app, communicate design concepts clearly, and gather early feedback. By identifying both product and technical issues early on, you can reduce development costs by catching problems before they become costly to fix.
React Native prototypes also make it easier to estimate the resources needed and assess the feasibility of your project. Additionally, user testing at this stage—though limited—provides valuable insights, helping you refine your app before development begins, saving time and money in the long run.
3. Reduce technical debt
Validating your ideas early with React Native prototypes helps to avoid technical debt and reduces future expenses. As you test and refine your concepts using prototypes, you catch and address potential issues before they become embedded in your final app.
Since making changes in a React Native prototype is quicker and less costly than modifying a fully built app, you can iterate faster. This approach minimizes the risk of messy, costly adjustments later, streamlining the development process and saving time and resources.
Since you are at it, you might also wish to read about how to Build Your Mobile App in 10 Days using React Native.
How do you develop an app prototype using React Native?
1. Do thorough User Research
When developing an app prototype using React Native, it’s crucial to begin with user research. This means understanding who your users are, what they need, and what problems they face. This stage is key because it helps you gather valuable insights through market research and analysis.
The purpose of this research is to make sure you’re solving real user problems—not just what you assume the problem is. By thoroughly researching your users’ needs, you can better understand how to design a product that works for them. This also makes it easier to choose the most important features for your prototype in the next step.
In short, strong user research sets a solid foundation for building a successful app.
2. List Down Essential Features to Include
Your prototype doesn’t need to include every feature you want in the final app. The goal is to focus on how the most important features will work and interact.
Start by asking: What does your app do? If you’re solving a specific problem (which is a great approach), think about the features that are necessary to address that problem.
For example, if you’re building a job application tool for students, your first version could include key features like:
- A job board
- An application tracking system
- Task management with reminders
- A place to create and save resumes
These core features will be the main focus of your prototype.
3. Select the Right Prototyping Tool
The next step in developing your React Native app prototype is choosing a prototyping tool. While you can sketch out ideas on paper, it’s better to use an online tool that lets you create a clickable prototype, where users can interact with the app and see how different screens connect.
There are many great tools you can use, like:
- Figma
- Proto.io
- Bubble.io
- UXPin
- ProtoPie
- Justinmind (good for teams on a budget)
These tools offer features like drag and drop editing, libraries of UI elements, and collaboration tools to work with your team. Try a few and choose the one that fits your workflow and needs the best. This will make your prototype more interactive and closer to an actual app experience.
4. Brainstorm and Sketch Concepts
When developing an app prototype using React Native, it’s a good idea to start by sketching your ideas, using a pen and paper or a digital tool that lets you draw freely.
At this stage, you don’t need to worry about perfecting the design. The goal is to quickly get the basic structure of your app down. For example, if you’re thinking about how the homepage or another feature should look, sketch it out first. You can make multiple versions to compare and decide on the best layout.
Sketching is quick and flexible, allowing you to easily adjust your ideas before moving on to a more polished digital prototype. It helps you visualize the app’s flow and ensures you capture the essence of each feature before diving into finer details.
5. Move Your Sketches in a Prototyping Tool
Once you’ve completed your user research and identified the core features, the next step in developing your React Native app prototype is to start making rough sketches.
The first thing you need to do is decide on the overall structure of your app. This means outlining all the screens your app will have and what features will be on each screen. Don’t worry about perfecting the design yet. Just focus on getting all the key screens and UI elements down on paper, and plan how these screens will link to each other.
Even if you’re creating a basic prototype, having a low-fidelity wireframe helps your design team know exactly how to move forward when building the digital version of the prototype.
6. Polish Your Prototype with a Professional Design
Once your sketches are ready, it’s time to give your React Native prototype a professional touch. This means refining your sketches and adding design elements like colors, fonts, and images.
- Refine Your Sketches: Tidy up your initial ideas, removing clutter and making sure the layout is clean and balanced.
- Pick Colors: Choose a color palette that matches your brand or design vision.
- Use Consistent Fonts: Select fonts that are easy to read and work well together, keeping the style uniform throughout.
- Add Images: Use high quality graphics that improve the overall look and feel of your app.
- Focus on Details: Fine tune the design with minute touches like shadows and textures to make your prototype look polished.
This step helps transform your basic prototype into a more visually appealing and functional design.
7. Convert Your Prototype into a Functional App
Now comes the app development phase, where your React Native prototype is turned into a fully functional mobile app. It’s important to collaborate closely with the mobile app development company to ensure they understand the design and how the app must work.
Here are two key things to keep in mind:
- Stay Flexible: Be prepared to make adjustments to the design or features as needed. Some features might launch as simpler versions, with improvements coming later.
- Keep Everyone on Track: The prototype helps ensure the development team sticks to the overall vision and timeline. Make sure everyone has access to the prototype and refers back to it regularly to stay aligned.
By maintaining flexibility and clear communication, the development process will run more smoothly.
8. Test, Refine, and Repeat
Once your React Native prototype is built, it’s time to test it with users and showcase it to potential investors.
The key to testing is gathering honest feedback from users who match your target audience. It’s important to test your app on real devices to see how it performs in real life situations.
Functional prototypes also allow for more valuable user testing through methods like A/B testing. Plus, they give you a better chance of standing out to investors. A working prototype shows that your app is already solving problems, making it easier to secure funding.
By launching your prototype, you can start testing, growing your user base, and raising funding all at once.
Also read: How to Build and Deploy a React Native App in 2025: Expert Tips and Strategies.
Final Words
Prototype design is a crucial step before developing an MVP for your React Native app. It helps you present ideas to potential users, gather feedback, and make necessary adjustments to meet their needs.
Using methods like Design Thinking and prototyping tools simplifies the process, allowing you to refine the UI and UX of your app. By focusing on the prototyping process, you can increase the chances of securing investment and stakeholder support, setting your app up for success when it’s time for MVP development.
Even better, you can hire a React Native app development company with the right set of expertise that can help you build the app prototype in your desired timeframe.


Leave a Comment
Your email address will not be published. Required fields are marked *